Train diligently.
Work confidently.
See lives improved.
Be well-informed.
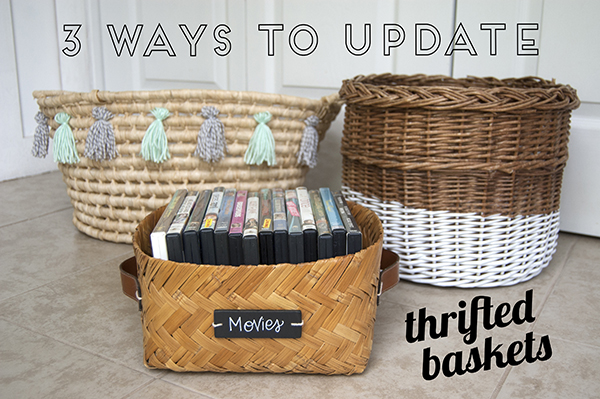
Goodwill DIY: 3 Ways to Update Thrifted Baskets
5/7/2019
By Julia Marchand
courtesy of Goodwill Industries International
Quick quiz — what screams summer, makes organizing a cinch in any place at all (even on the go!), and is waiting for you at your local Goodwill? Thrifted baskets!
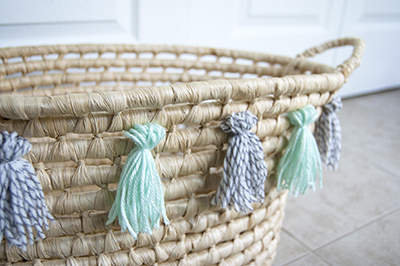
From burly laundry baskets to breezy woven seagrass, these permanently picnic-ready decor pieces will feel right at home in every room of your home and even out on adventures! Today we’ll highlight three quick and easy ways you can customize thrifted baskets for looks and functionality.
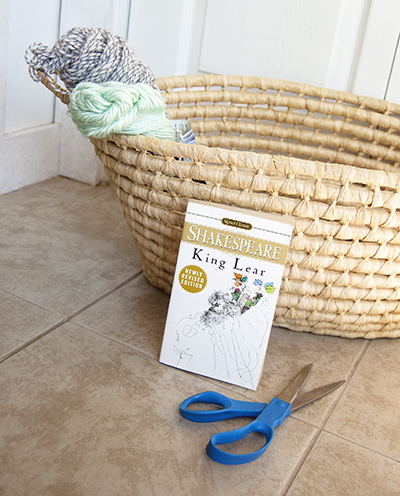
To add trendy tassels you’ll need:
- A basket
- Yarn
- A small book or something else that makes just the right size tassels
- Tapestry needle (Optional — can be helpful if the basket’s weave is tight)
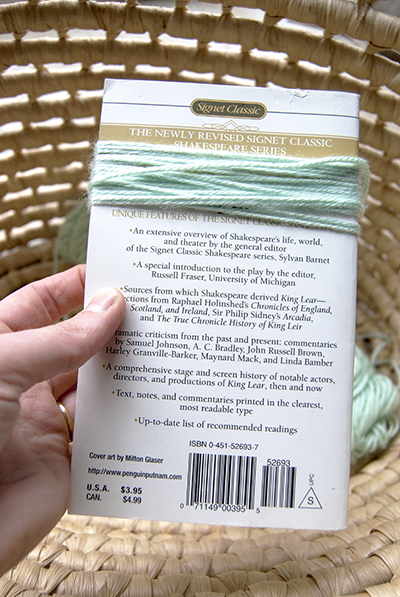
Step 1: Wrap the yarn around the book (or whatever you found) until it looks thick enough. I went around 18 times. Slide the loops off of the book and cut along one end.
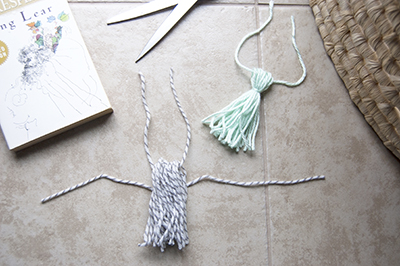
Step 2: With the yarn still folded in half, place a new length of yarn through the center of it. Then, lay that on top of another horizontal string. Double knot the horizontal piece of yarn around the tassel. You can wrap this around as many times as you want before tucking the ends inside the tassel if you want to (I kept it simple with mine).
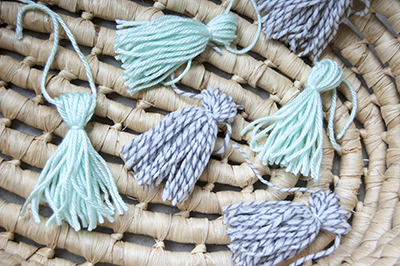
Step 3: Repeat steps one and two until you have enough tassels.
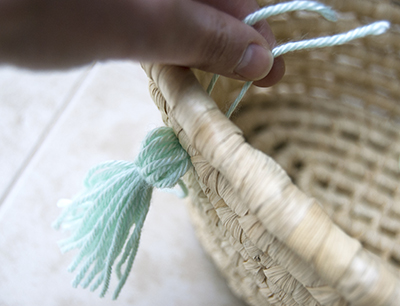
Step 4: With the knots you just made placed against the basket, thread the top strings of the tassels through the basket and double knot them in place around the weave. If your basket’s weave is too tight for you to do this with just your fingers, use a tapestry needle to get through the narrow nooks. Do this, evenly spaced, all the way across the top of the basket.
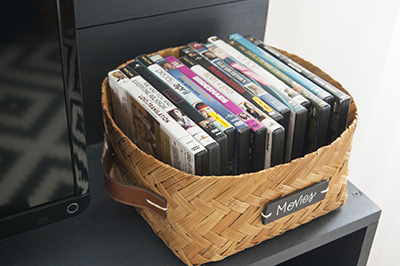
Next up, I loved the unique shape of this square basket that I spotted while out thrifting, but I knew that adding some handles would make it easier to carry while full. While I was at it, I figured I’d just slap on a chalkboard label, too, so I could stick it up high on a shelf if I wanted to and I’d still know what was inside.
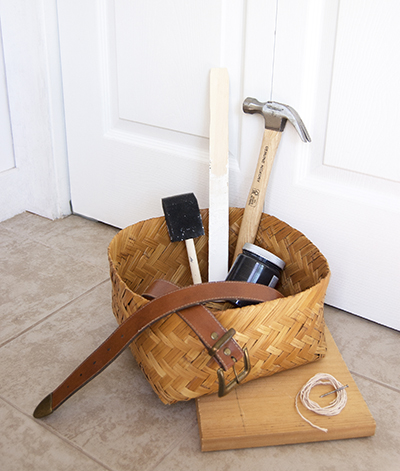
To add handles and a label you’ll need:
- A basket
- Faux-leather belt
- Tough string
- Tapestry needle
- Paint mixing stick (or similarly thin wood)
- Saw to cut the paint mixing stick
- Power drill with a small bit (I used 1/8” bit)
- Small paint brush
- Chalkboard paint
- Hammer
- Nail
- Scrap wood
- Chalk marker
- Sandpaper
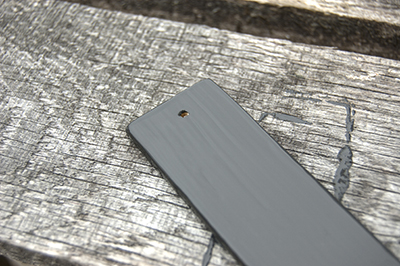
Step 1: Cut your thin wood to the right size for your label. I used a saw to slice a 3.25” long section of the paint mixing stick. After that, drill two small holes toward either end of the label. Sand all sides well then wipe off the dust. Paint with chalkboard paint according to the container’s instructions and let dry.
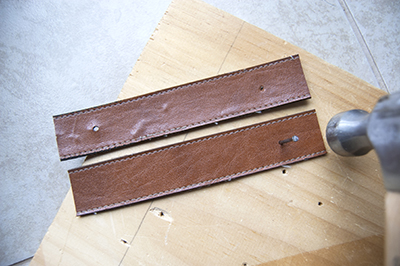
Step 2: Measure two lengths of the belt to make the handles. Mine are each 6” long. Use the actual holes in the belt or add your own holes by hammering them in with scrap wood behind the belt.
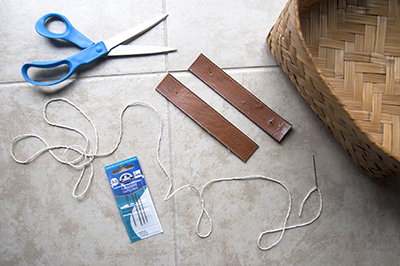
Step 3: Thread a length of string through the needle, position the handles and label (after it’s completely dry) wherever you’d like them, and thread them through the basket’s weave to be secured with a knot on the inside. Try to stitch the needle between the weave of the basket if possible so you aren’t poking holes into the straw/wood itself.
This last one is easy as pie and just as charming. I found this basket a couple of months ago and I love its size and shape so much. However, I noticed that since I keep it in a little nook in my bedroom, it tends to look pretty dark and shadowy over there. I was looking for a way to brighten this piece up and a fresh strip of white paint definitely helped!
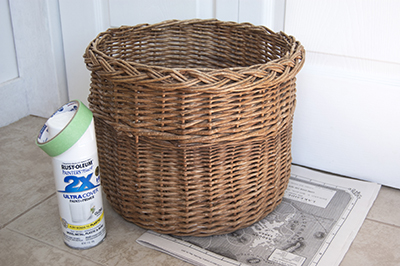
To get that paint-dipped look you’ll need:
- A basket
- Paint (I used spray paint, but you don’t have to)
- Paint brush if necessary
- Painter’s tape
- Newspaper
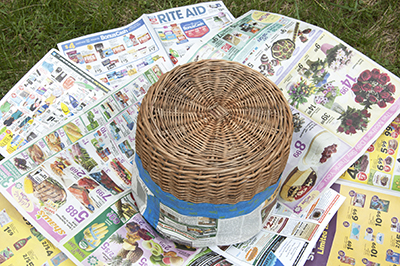
Step 1: Tape off the section you want to paint making sure to cover everything you don’t want to be painted. Remember that paint (especially spray paint) can seep through the basket’s weave so you may want to fill the basket with paper on the inside, too. Press the tape firmly into place so nothing can sneak through!
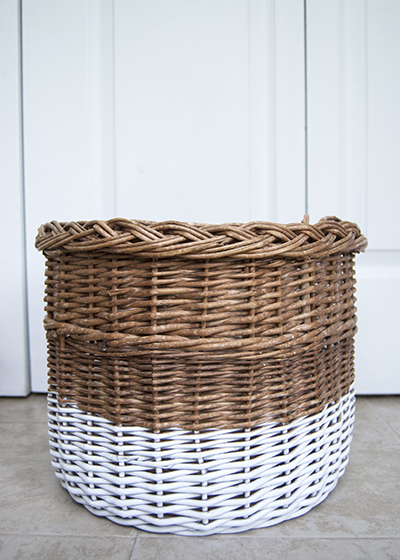
Step 2: In a well-ventilated area, paint the bottom with spray paint or by hand with a brush. Make sure you follow the directions on your paint to make sure you’re doing it safely.
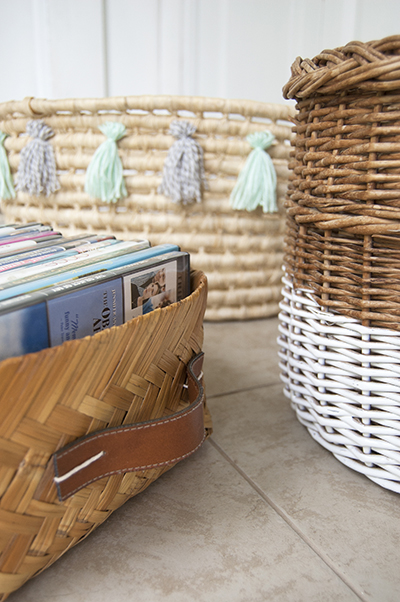
Each of these is just a quick afternoon project that adds personality to one of the most versatile items on Goodwill shelves. Pile ’em high with picnic supplies, replace your beach bag with something boho, or get a grip on your indoor organization. You could even use your thrifted basket to tote donations in on your next thrift store trip! Goodwill is where your stuff goes to work and any baskets you buy there are sure to carry more than their fair share of the workload. Have fun making them your own!
Julia Marchand is a home decor/DIY blogger at LITTLEroost. From her little roost in rural New England, fueled by coffee and fresh air, Julia blogs for Goodwill Industries International creating sustainable DIY, home decor, and fashion content from thrifted finds.