Train diligently.
Work confidently.
See lives improved.
Be well-informed.
DIY Statement Wall for Spring Part 1
5/18/2020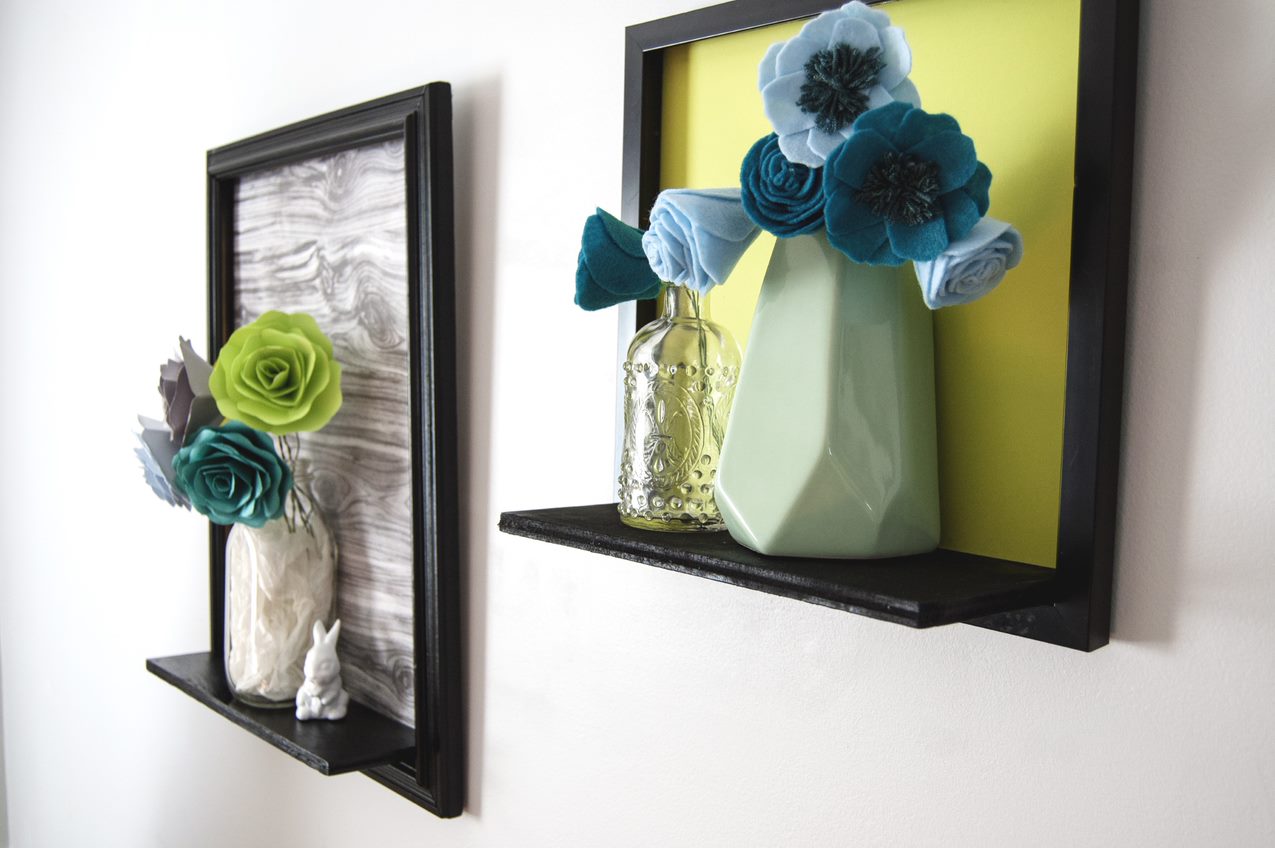
When it comes to collections, we all have our weakness. Some people collect shoes, others collect watches, or books, or cameras--who knows! If finding a new piece for your collection hiding amongst thrift store shelves brings you joy, then neither guilt nor spring cleaning should make you feel badly about it.
Goodwill has been rated in Forbes’ 20 most inspiring companies for three consecutive years (in fact, it was the only nonprofit organization in the list!) so I know I’m not the only person who walks out of a Goodwill store feeling inspired by a new favorite collectable. But here’s the trick to having a collection that adds value to your life instead of just taking up space in your home: proper curation and display. Today and next Friday we’ll walk you through the two-part creation of a statement wall that showcases small collectables. Ready?
Before we start to pull together our project supplies, I always find it helpful to go through the items I want to display and make some tough decisions. This is spring cleaning time, after all, so it’s a good opportunity to make sure the things in our home really belong there. Are there any “filler” pieces in your collection? Sometimes I’ll buy a record album to add to my vinyl stash just because the cover art is great, but then I find out I don’t really love the music or that it doesn’t play well. Do I really need it? No. It’s just taking up space. The distinguishing feature of a great collection is that each piece in it is truly special on its own. See if you can trim out the less-than-ideal-for-you pieces and donate those. This will make the display even easier to pull together!
Now it’s time to plan the layout of your statement wall! I have a lot of random glassware that had been taking up space in my kitchen cabinets. I thought each piece was cute on its own, some for sentimental reasons, some just because they put a smile on my face. They weren’t doing me any good hidden behind a cabinet door and I knew I could use that space more efficiently, so I pulled them all out and cleaned them up for display.
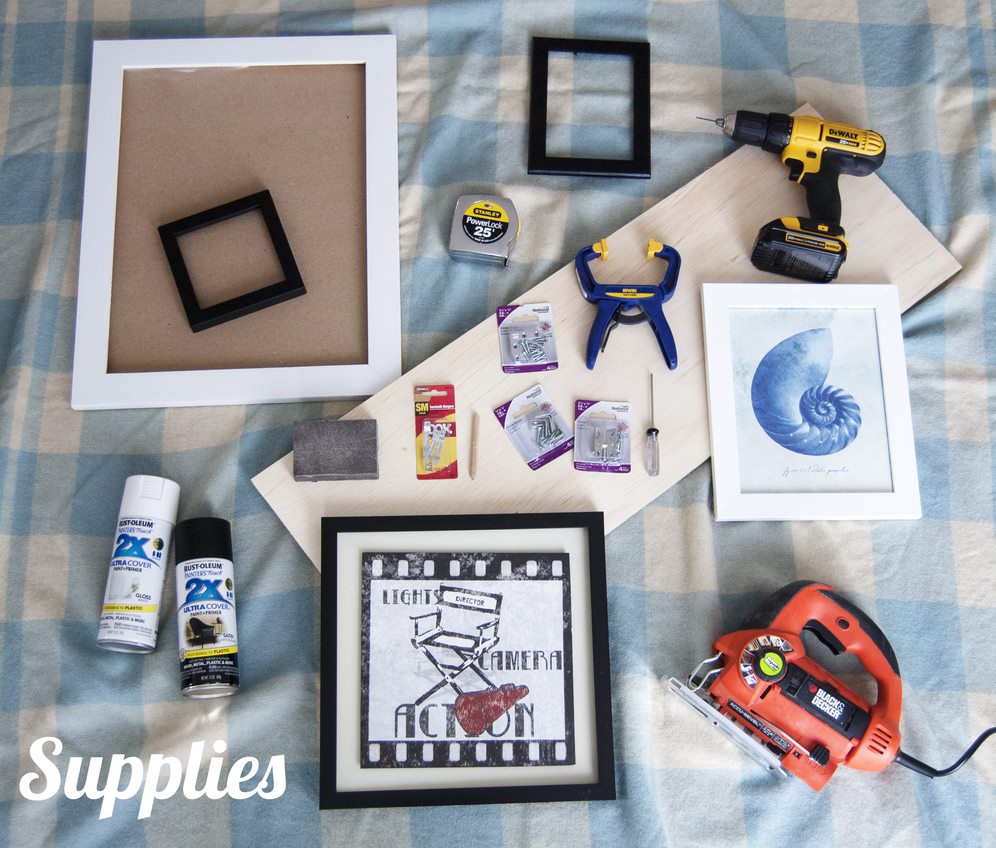
Supplies:
Small collectables
Picture frames in various sizes
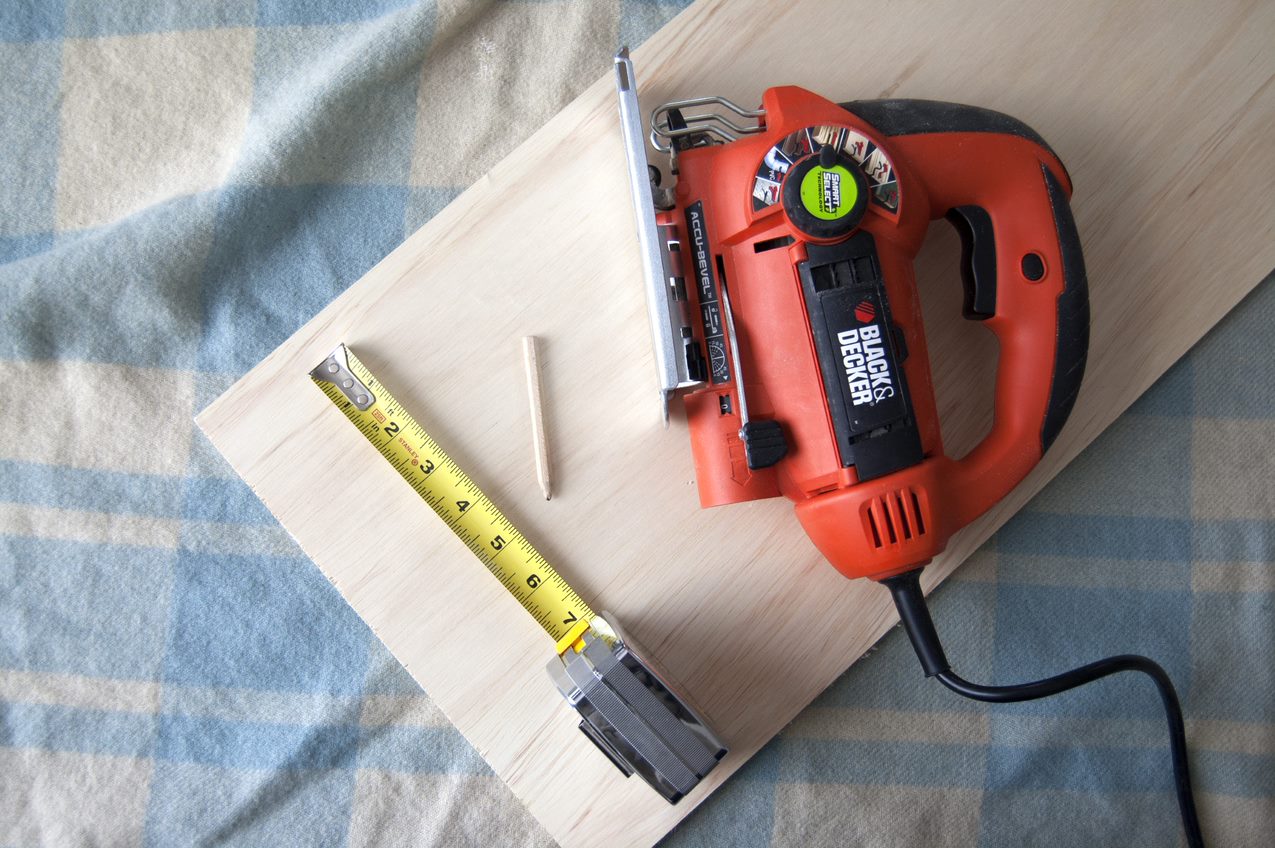
Wood cut to fit as a shelf in each frame (Mine is ½” thick plywood, but use your best judgement to find wood that is sturdy enough to hold your collectables without being so heavy that it will pull the frame from the wall. If you don’t have a saw at home, you can ask an associate at the shop where you buy it to cut it to size.)
Paint (optional)
Small corner braces or L brackets in various sizes (Each frame will need at least two. Bigger frames may need more.)
Sawtooth hangers (if your frames don’t have them)
Colorful cardstock paper and/or wrapping paper
Small clamps (optional)
Scissors
Pencil
Drill
Small staple gun, painter’s tape, or hot glue gun to attach paper backing
Disclaimer: If your collectables are super heavy or super fragile, you may not want to try this method of display, just in case. Pet owners and parents should also make sure that these frames are high enough to be safe from little hands or paws!
Step 1: Thrift picture frames for your objects. Some of your pieces might look good gathered in small groups within one larger picture frame. Others might make a statement in their own tiny frame. A general rule for wall hangings is that you want to fill two-thirds of the empty wall space. I started by thrifting a bunch of frames in random sizes that would fill the empty area on my wall then planned the rest later. Look for frames that are at least an inch-thick for sturdiness.
Step 2: Find your studs and plan the statement wall’s layout. Play around with the layout of the collectables and frames by shuffling them around on the floor to see what will best fit your wall. Keep in mind that heavy frames will be safest hung from a stud so plan your arrangement with the heaviest pieces aligned over studs. I usually keep roughly the same amount of space between each frame. Your gallery of frames will look balanced when you keep the biggest or heaviest-looking pieces toward the bottom center. Once you find an arrangement you like, take a picture for reference!
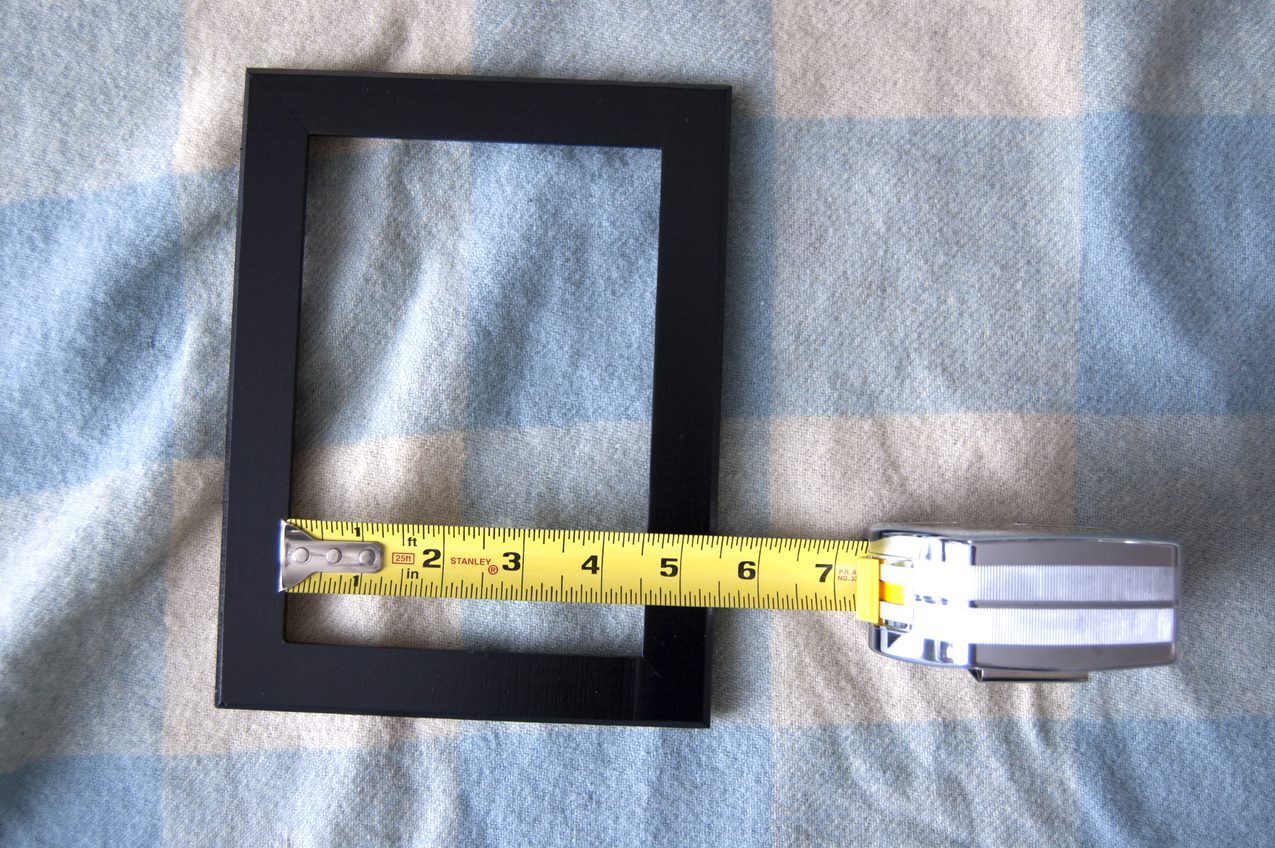
Step 3: Measure, cut, and sand the shelves. Start by measuring the inside width of each frame then decide on the depth of each shelf. The depth will depend on the footprint of whichever items you’re going to place on each shelf. With these width and depth dimensions, cut the shelves from your wood. Sand down all sides of the shelves.
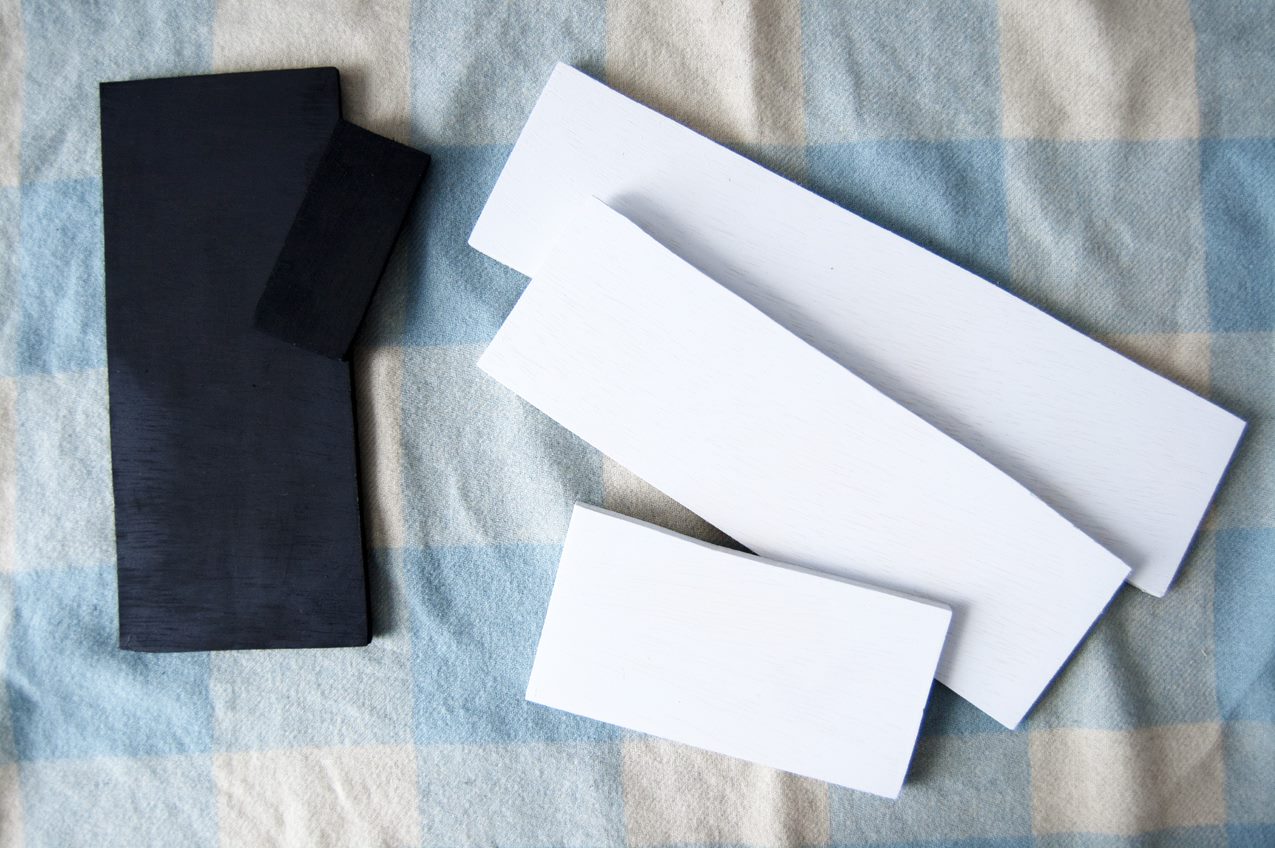
Step 4: Paint the frames and shelves to match. Since your frames are thrifted, they probably won’t all look good together right off the bat. I decided to go with a combination of black and white frames for my wall so I only had to paint a few. Paint your shelves to match, too!
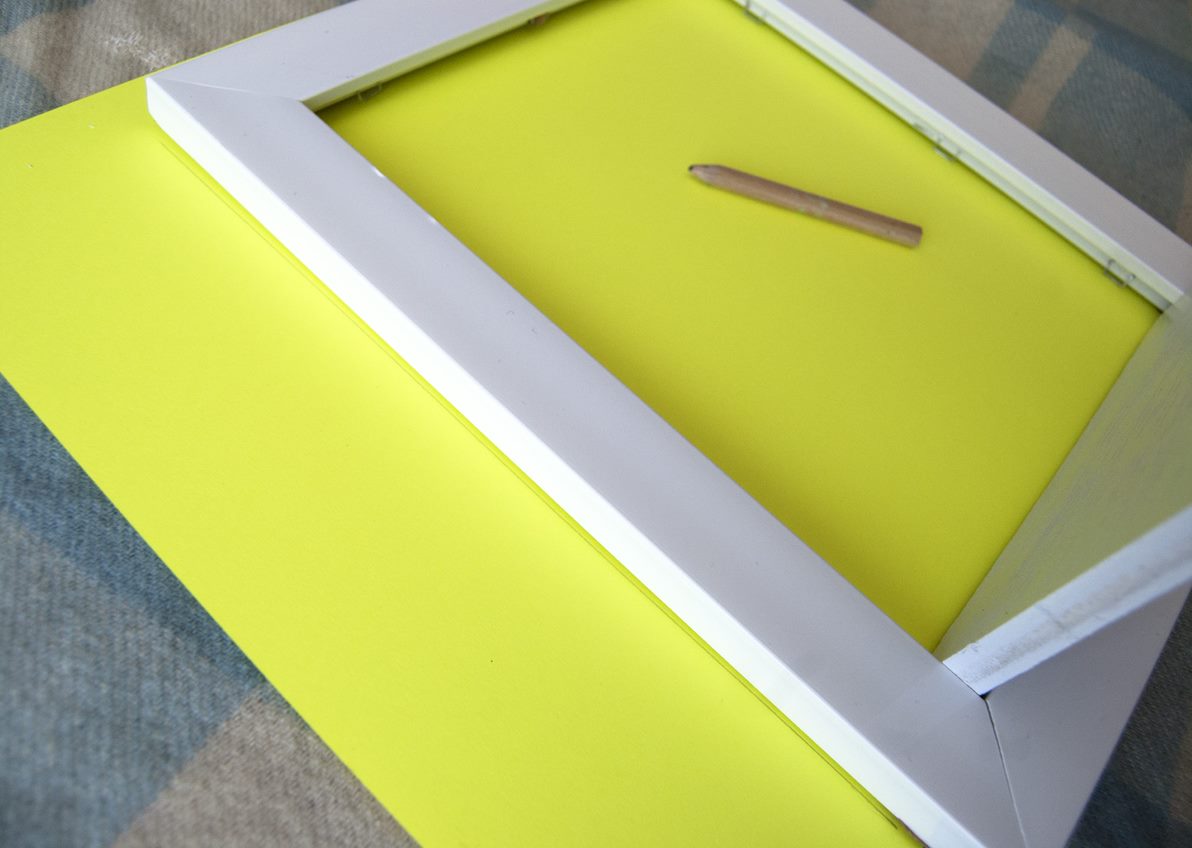
Step 5: Install shelves on each frame. Depending on the item you’re displaying, you may need more support than what I am creating, so keep the weight of your items in mind. Place the wooden shelf inside the bottom edge of the frame. With thicker frames, clamping it in place can help you plan and prep for your braces. Place two braces or brackets so they attach the shelf and frame then pre-drill holes with a drill bit that’s smaller than your screw. Screw into place making sure that your screws aren’t so long that they poke through the shelf or frame.
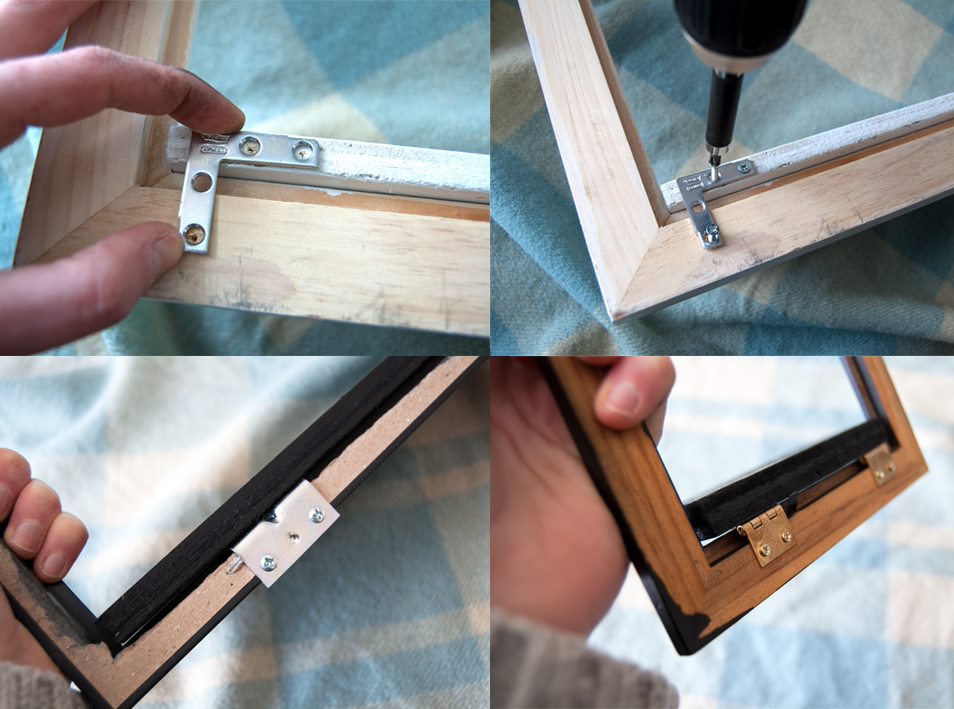
Each frame is different, so I used a few techniques to attach my shelves. My hardware store didn’t have any braces or brackets that were small enough for my tiniest two frames, so we decided to try hinges—they worked like a charm! Above are some photos of different bracket/brace options I used.
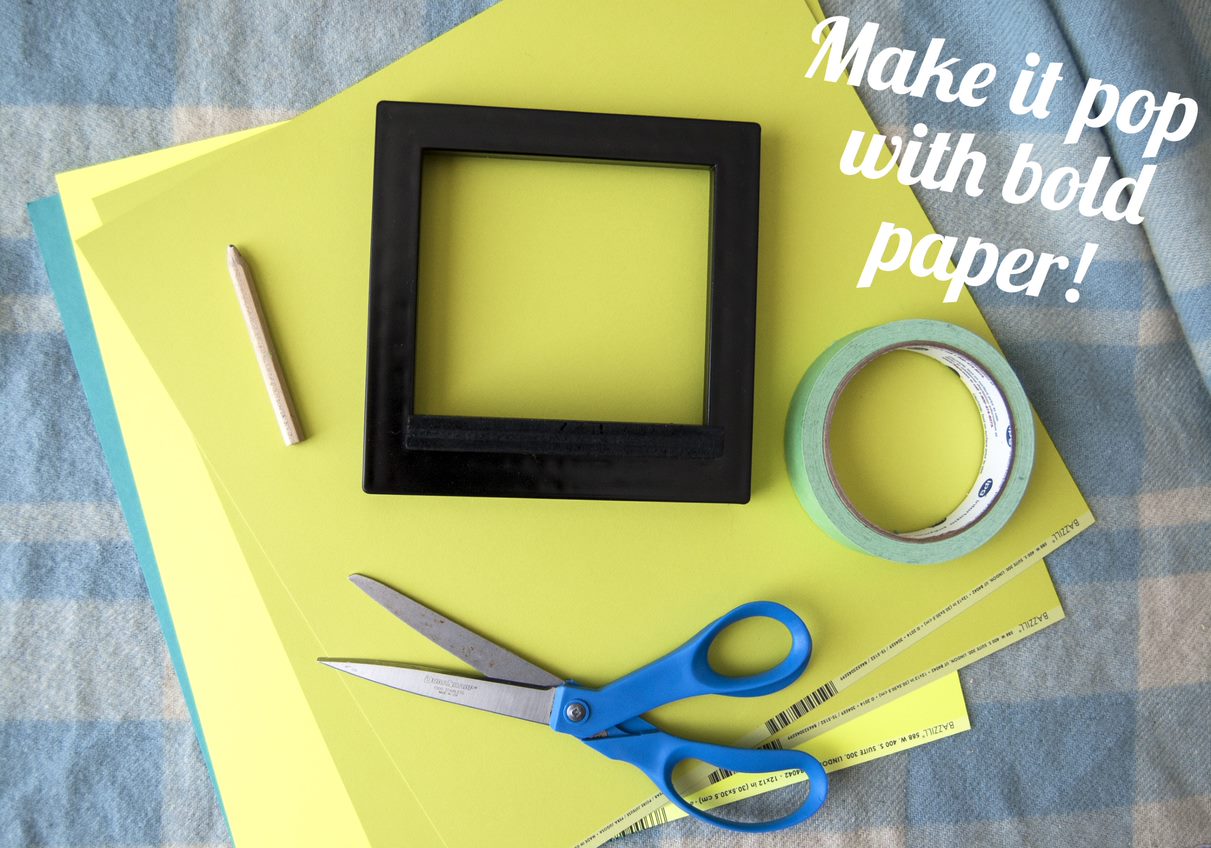
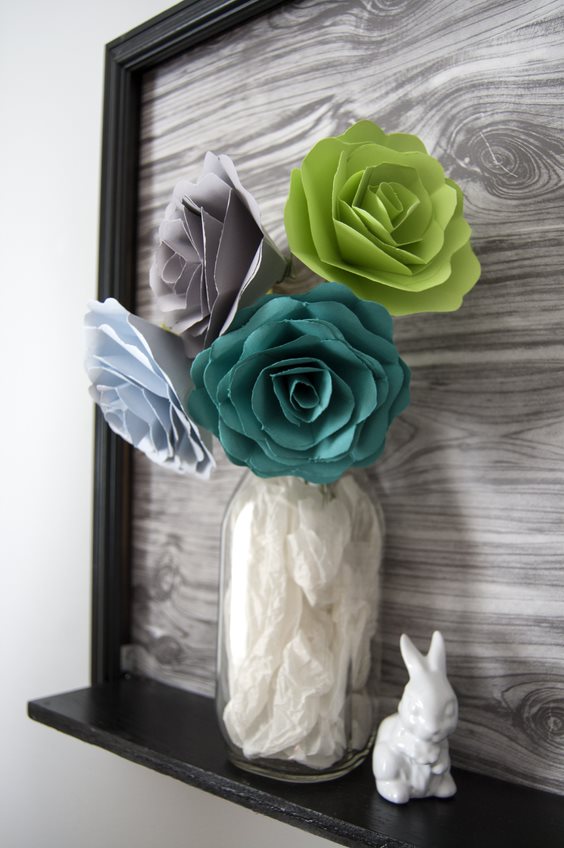
Step 6: Add a colorful background! Since you’re not actually framing a painting or print, you have an empty frame. You could leave it open or paint the wall behind it, but I added a punch of color with paper to keep it more renter-friendly and because that’s easy to swap out on a whim. To do this, lay your frame on the paper (use wrapping paper for the biggest frames!) and trace the outside. Cut a little inside your lines and adjust from there if necessary. Hot glue or painter’s tape are simple ways to attach the paper that will be easy to remove if I want to use the frame differently in the future.
Step 7: Hang your frames as you planned in your layout! Start in the center of the arrangement and move outward. For extra security, hang frames directly in the stud or with drywall anchors if they don’t align with a stud.
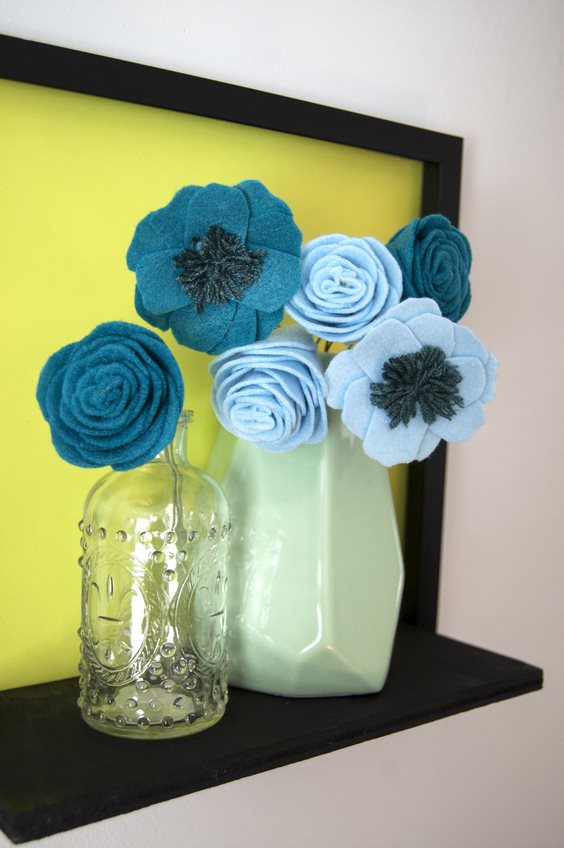
Ta-da! Your statement wall is installed! CLICK HERE for part 2 of where I’ll be unveiling my full statement wall and sharing shelf styling tips plus ideas for customizing glassware collections to better fit your home’s mood! I’ll even include a DIY tutorial for these cute felt flowers that enhance my collection.
To post comments, Click Here to Login